

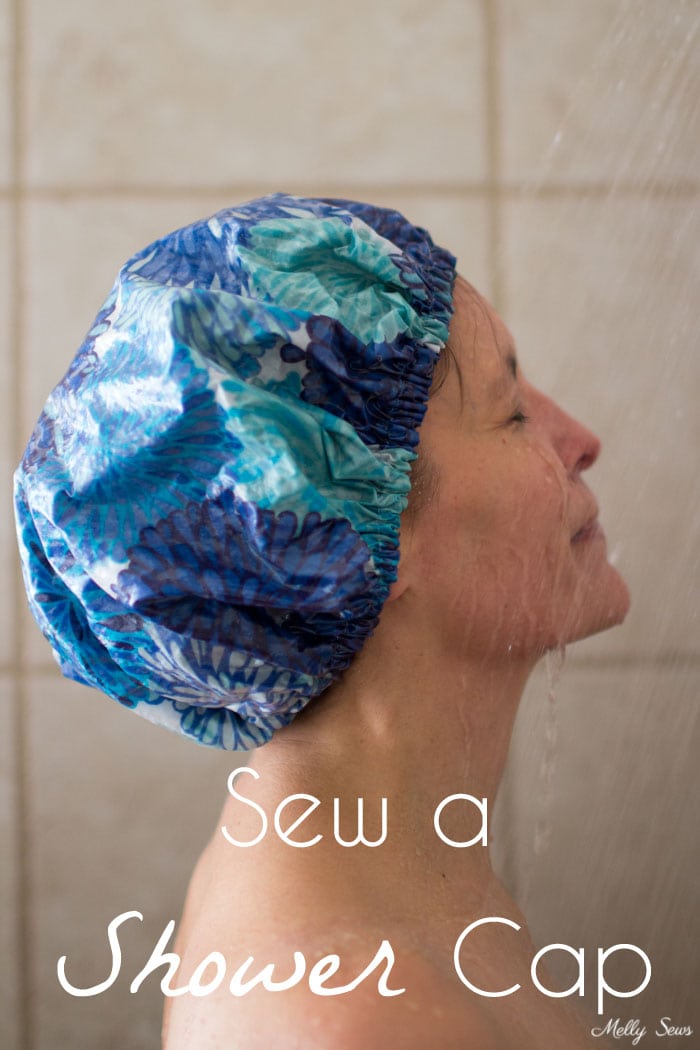
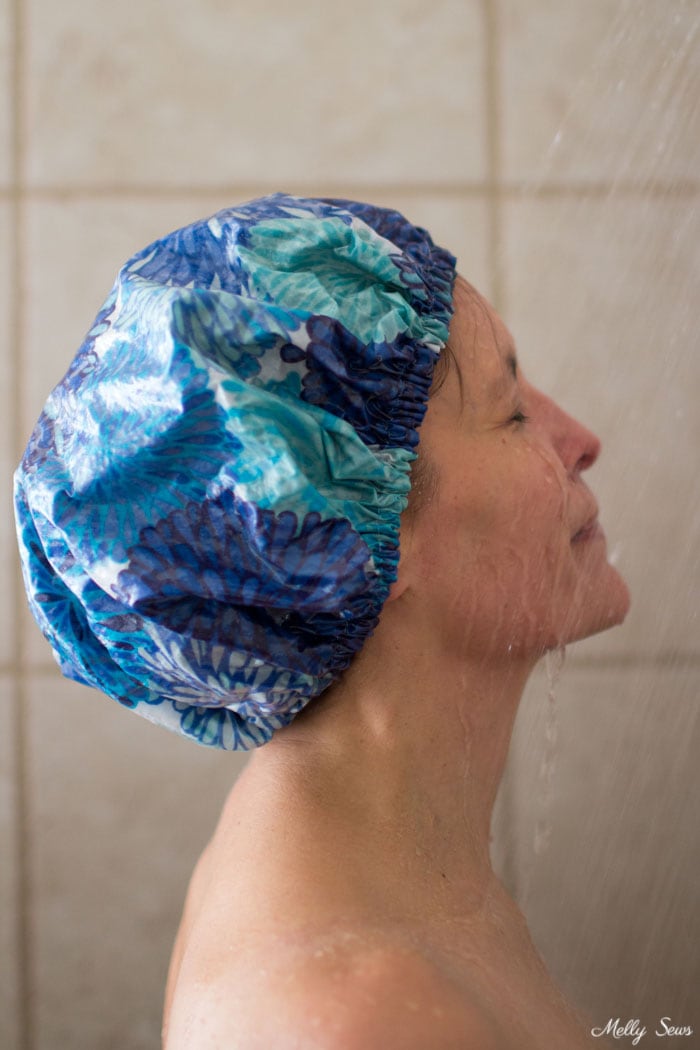
How To Make A Shower Cap
Make a silk lined waterproof bonnet or change for a DIY scrub cap
Hey y'all, welcome to today'south tutorial, how to sew a shower cap. This may seem similar a strange tutorial when the month's theme is pajamas, simply I'grand but going to justify it past saying that I generally shower right before putting on my pajamas, and so in my head they're continued. Plus, if I'chiliad the one giving myself themes to write nearly, I can too decide what goes with said themes, right?
I remember growing up and seeing my grandmother using a shower cap – she was as well the type to go get her hair prepare and done and not wash it between settings. Every bit a kid I thought that was strange, because I had to wash my hair far more oftentimes. But now? I totally use a shower cap. If you're interested in the story of my hair, you can read more hither and here, merely the short version is that I learned how to better take care of my hair and now I shampoo far less often (still more than than one time a calendar week though – running gets my hair too sweaty), and sometimes (specially in winter) the shower cap comes in handy to go along my hair dry in the shower.
And while you tin buy plastic shower caps cheaply, they don't concluding very long in my experience and I try to be more conscious nearly what I'm able to reuse and what I throw away. So I sewed a shower cap, and you lot can too! You can fifty-fifty modify this pattern to use every bit a scrub cap – just don't apply the iron on vinyl, as a scrub cap doesn't have to be waterproof.
Y'all'll demand:
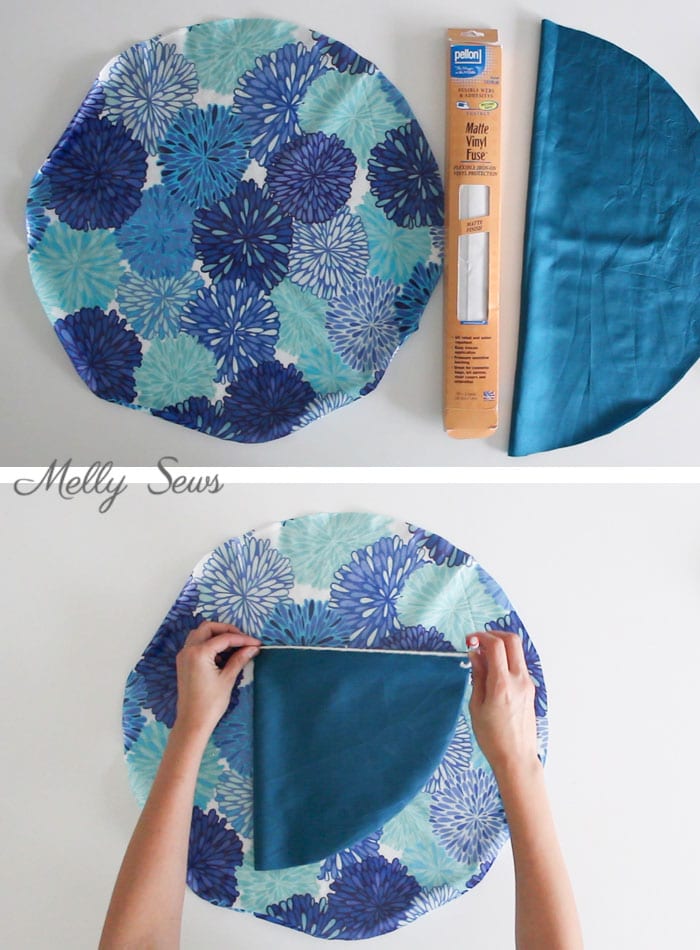
- About 2/three yard of fabric, unless you're making that 9 inch radius cap, then you can go away with 1/2 grand. You'll need this amount of your waterproof outer fabric and satin for the inner fabric. You lot don't have to apply satin, but I like how the polish surface of satin is less probable to snag and frizz my pilus. For waterproof textile, you can use vinyl or PUL textile. You tin also make waterproof fabric past fusing iron on vinyl (affiliate link) to regular cotton wool material, and that gives you a lot more than options for prints. This is what I did.
- three/8 inch elastic, also nearly 2/iii of a yard
I've got the video tutorial for this project below, or if you prefer to watch on YouTube you can find it here. Whorl past the video for the written instructions.
First, you'll desire to determine the radius of your circumvolve for the cap (radius is halfway across). This should exist somewhere between 9-12 inches, and it depends both on the size of your caput and the size of your hair. Since my head is small and my hair is fine and fairly thin, I went with 9 inches for my cap.
In one case you figure out your radius, you tin can use a cord tied to a fabric marker to brand 2 circles, i of outer and one of satin fabric. Fold your fabric in half once vertically and in one case horizontally, then hold the string end at the folded corner and measure out your radius to mark an arc. Cut on the arc and open your fabric to the total circle.
Next, place your fabric pieces right sides together and sew together around the edges, using a one/4 inch seam allowance and leaving a gap for turning.
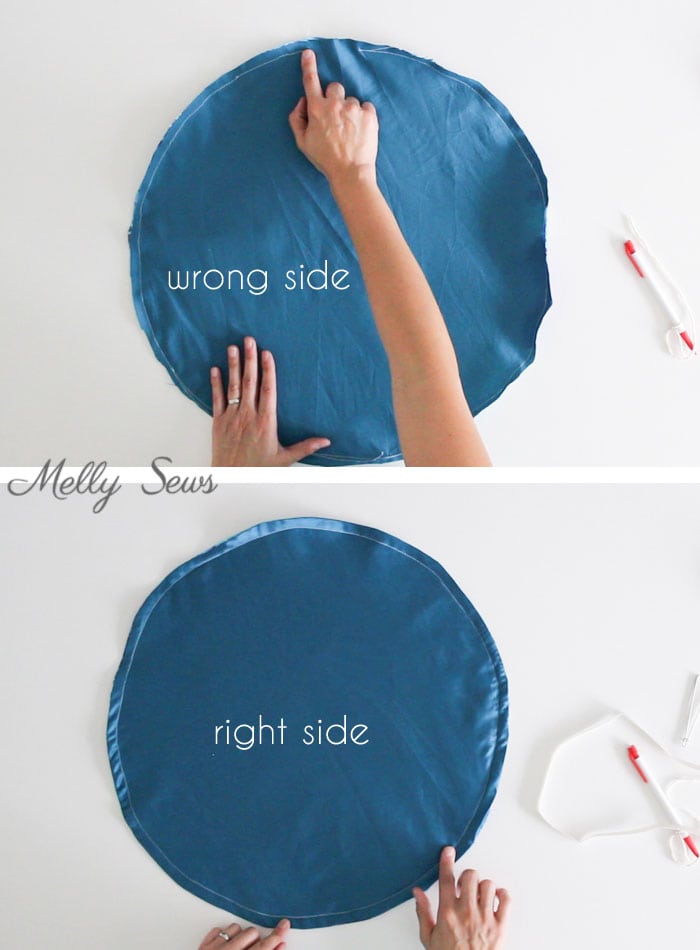
Plough the circle right side out and press the edges. Printing the raw edges of the gap to the within, merely don't stitch the gap closed.
Sew another line of stitching one/2 inch in from the press border of the circle. This volition form the elastic casing.
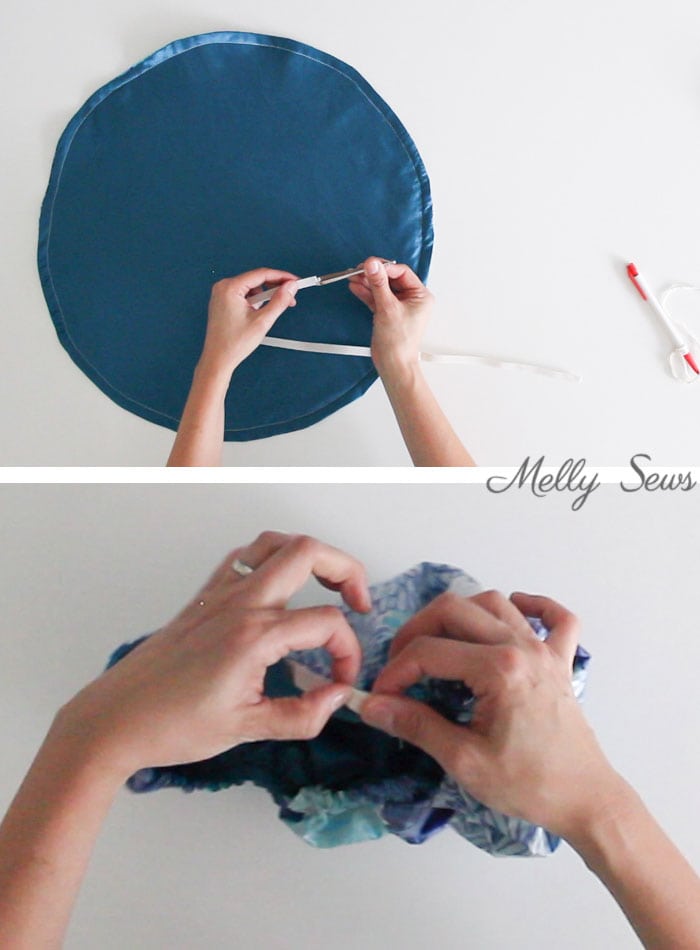
Measure plenty rubberband to go around your caput where you lot desire the cap to sit down. Thread the rubberband through the casing using a safety pivot. Overlap the ends of the elastic and stitch them together with a zig zag sew together. Then sew the opening of the casing closed with a footling scrap of topstitching and you're done!
Reader Interactions
Source: https://mellysews.com/sew-shower-cap/
0 Response to "How To Make A Shower Cap"
Post a Comment